The Best Fluffy Pancakes recipe you will fall in love with. Full of tips and tricks to help you make the best pancakes.
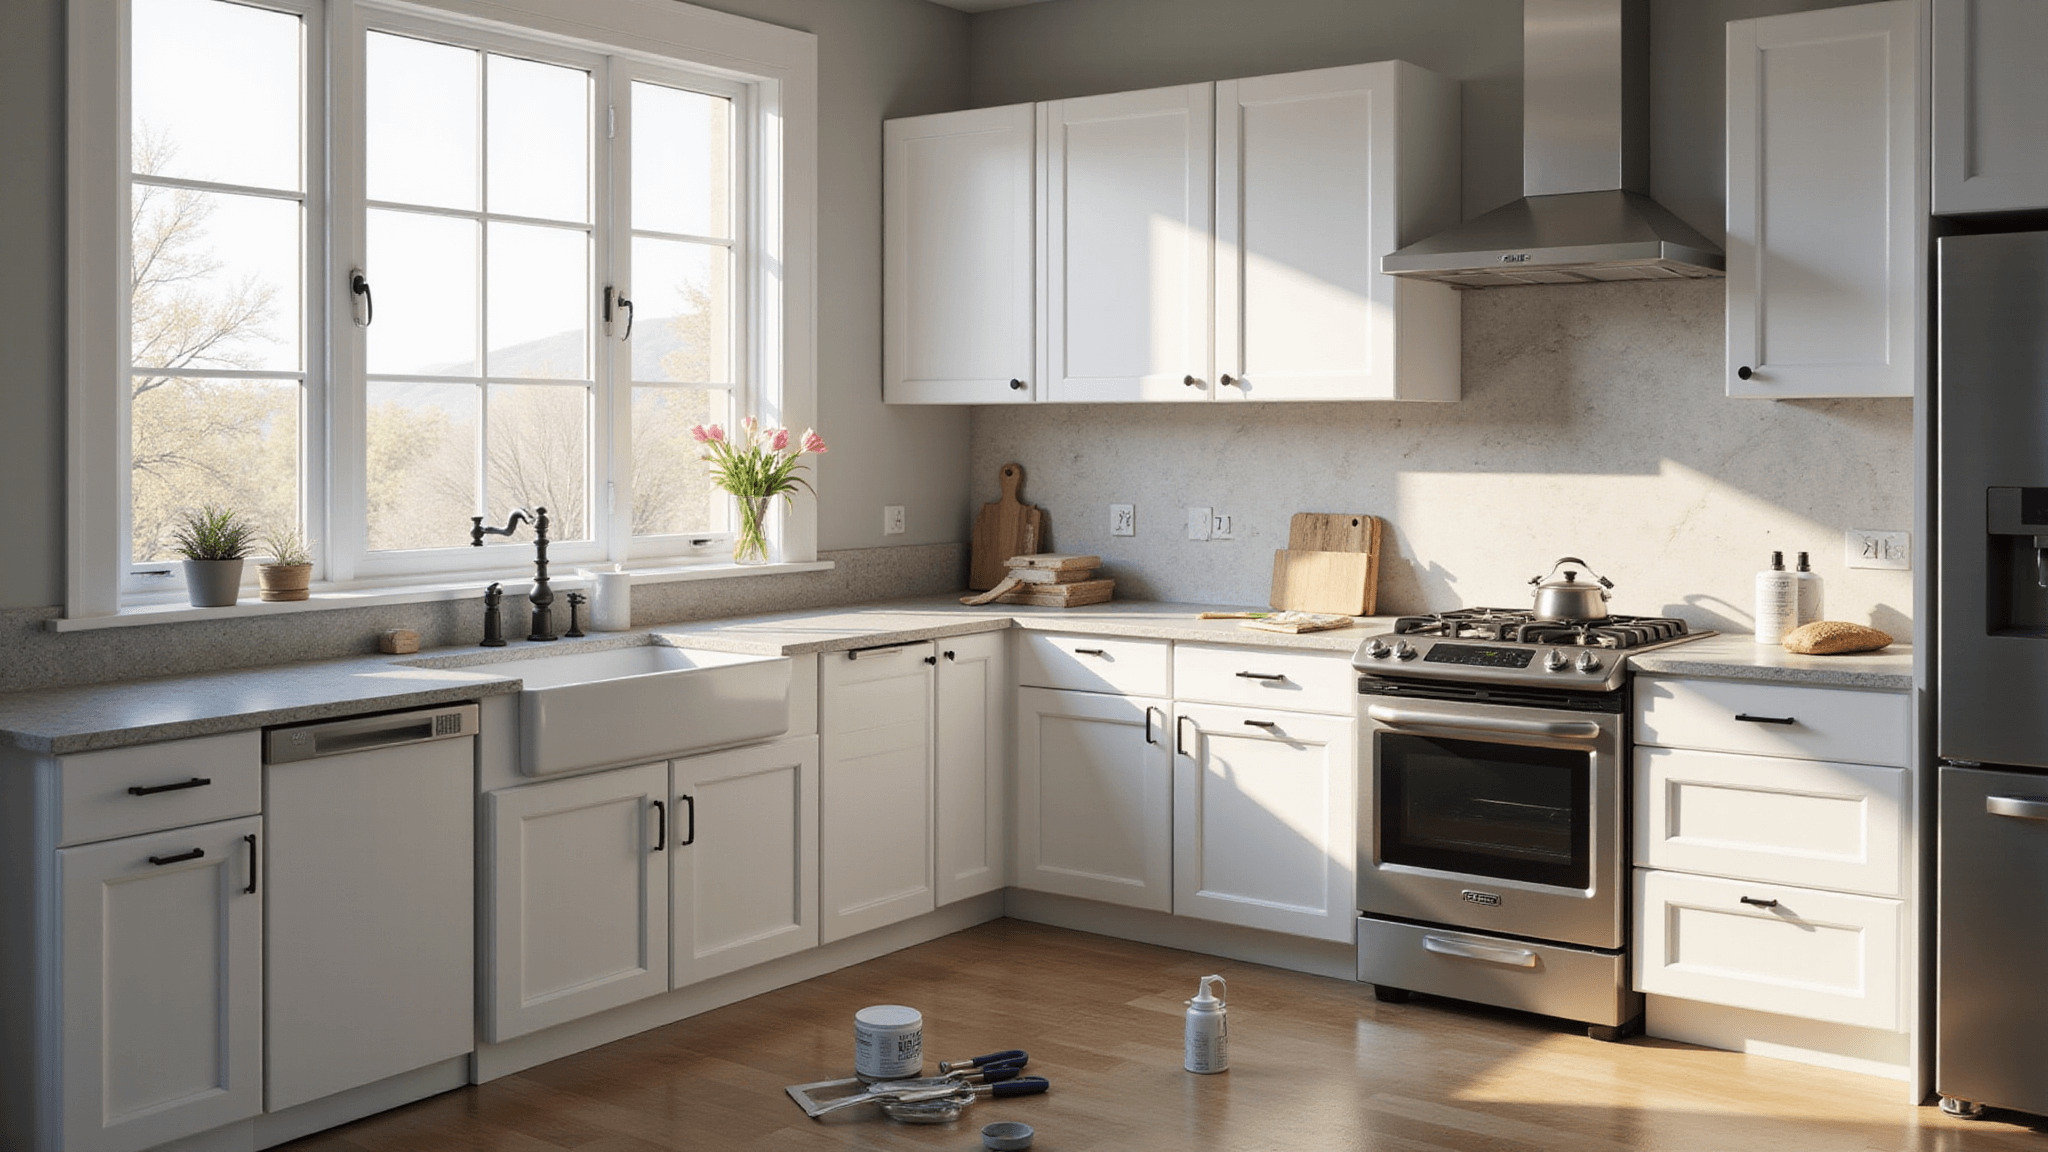
Why Paint Your Kitchen Cabinets?
Contents
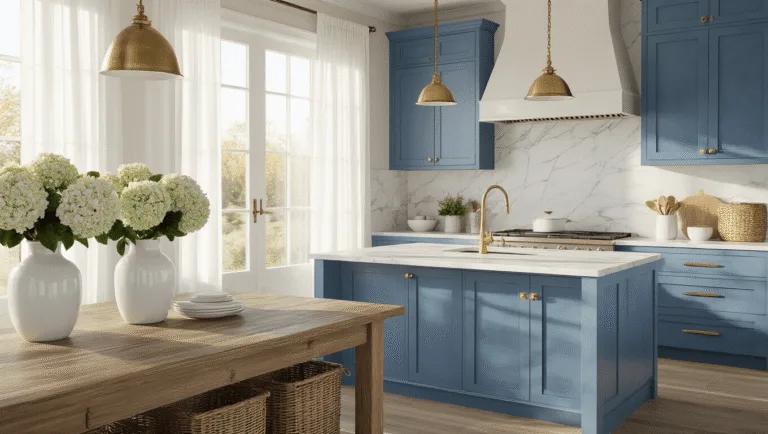
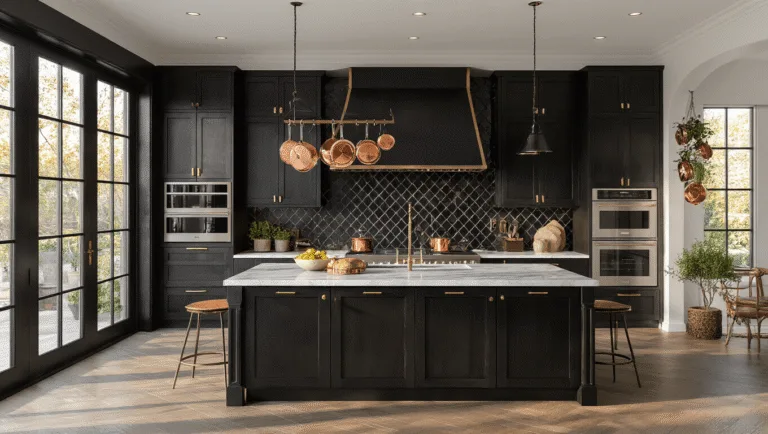
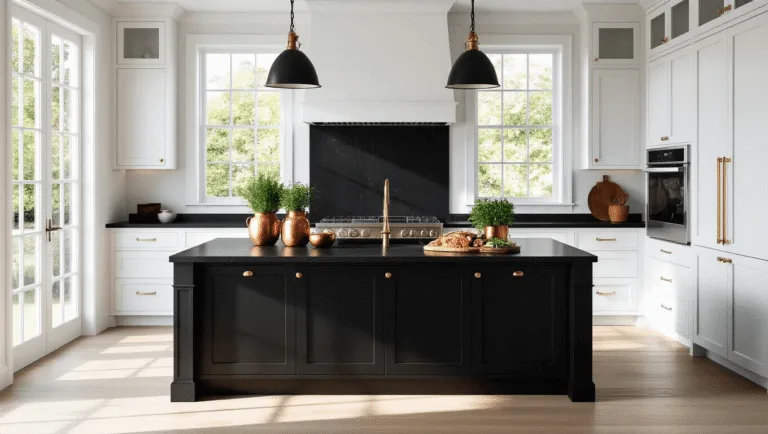
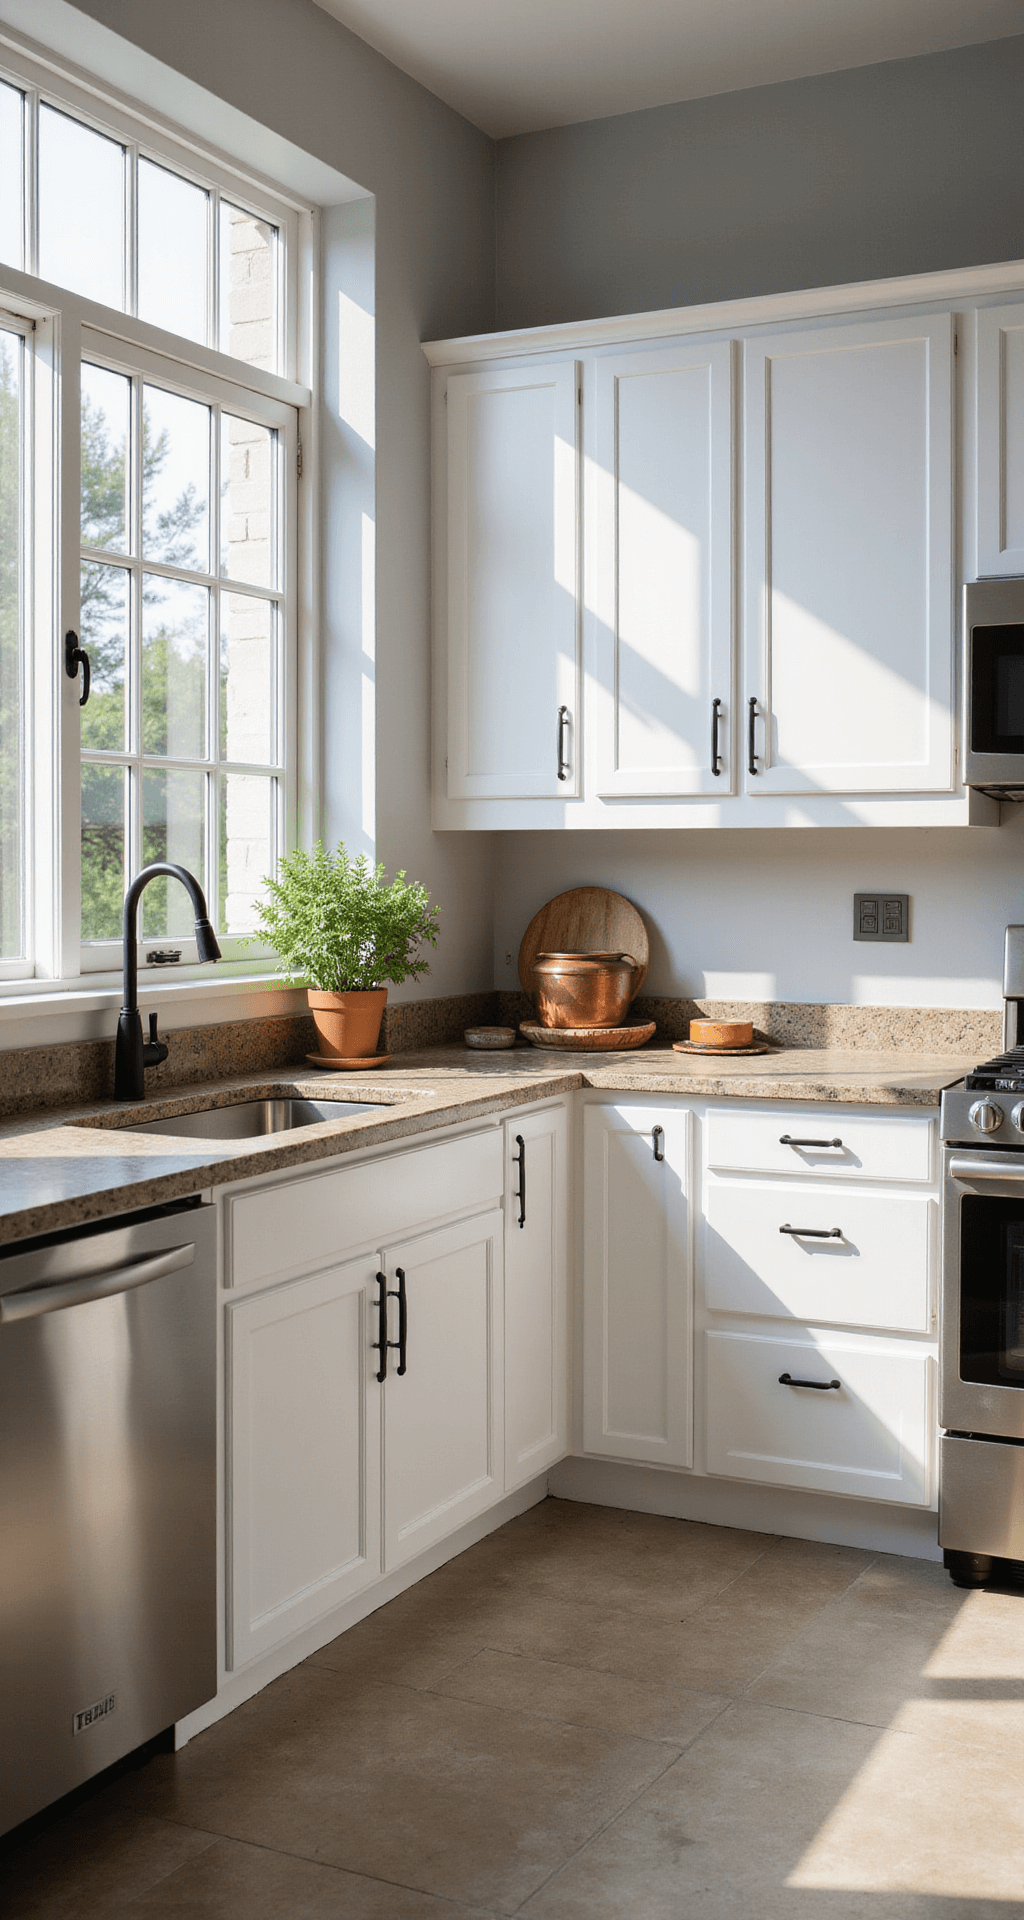
Kitchen cabinet painting isn’t just a quick fix – it’s a game-changer. For a fraction of a full renovation cost, you can completely transform your kitchen’s entire aesthetic. I’ve done this myself, and trust me, the results are mind-blowing.
What You’ll Need to Know
- Total project time: 3-5 days
- Skill level: Moderate DIY
- Cost: $200-$500 (vs. $5,000+ for new cabinets)
Step-by-Step Kitchen Cabinet Painting Process
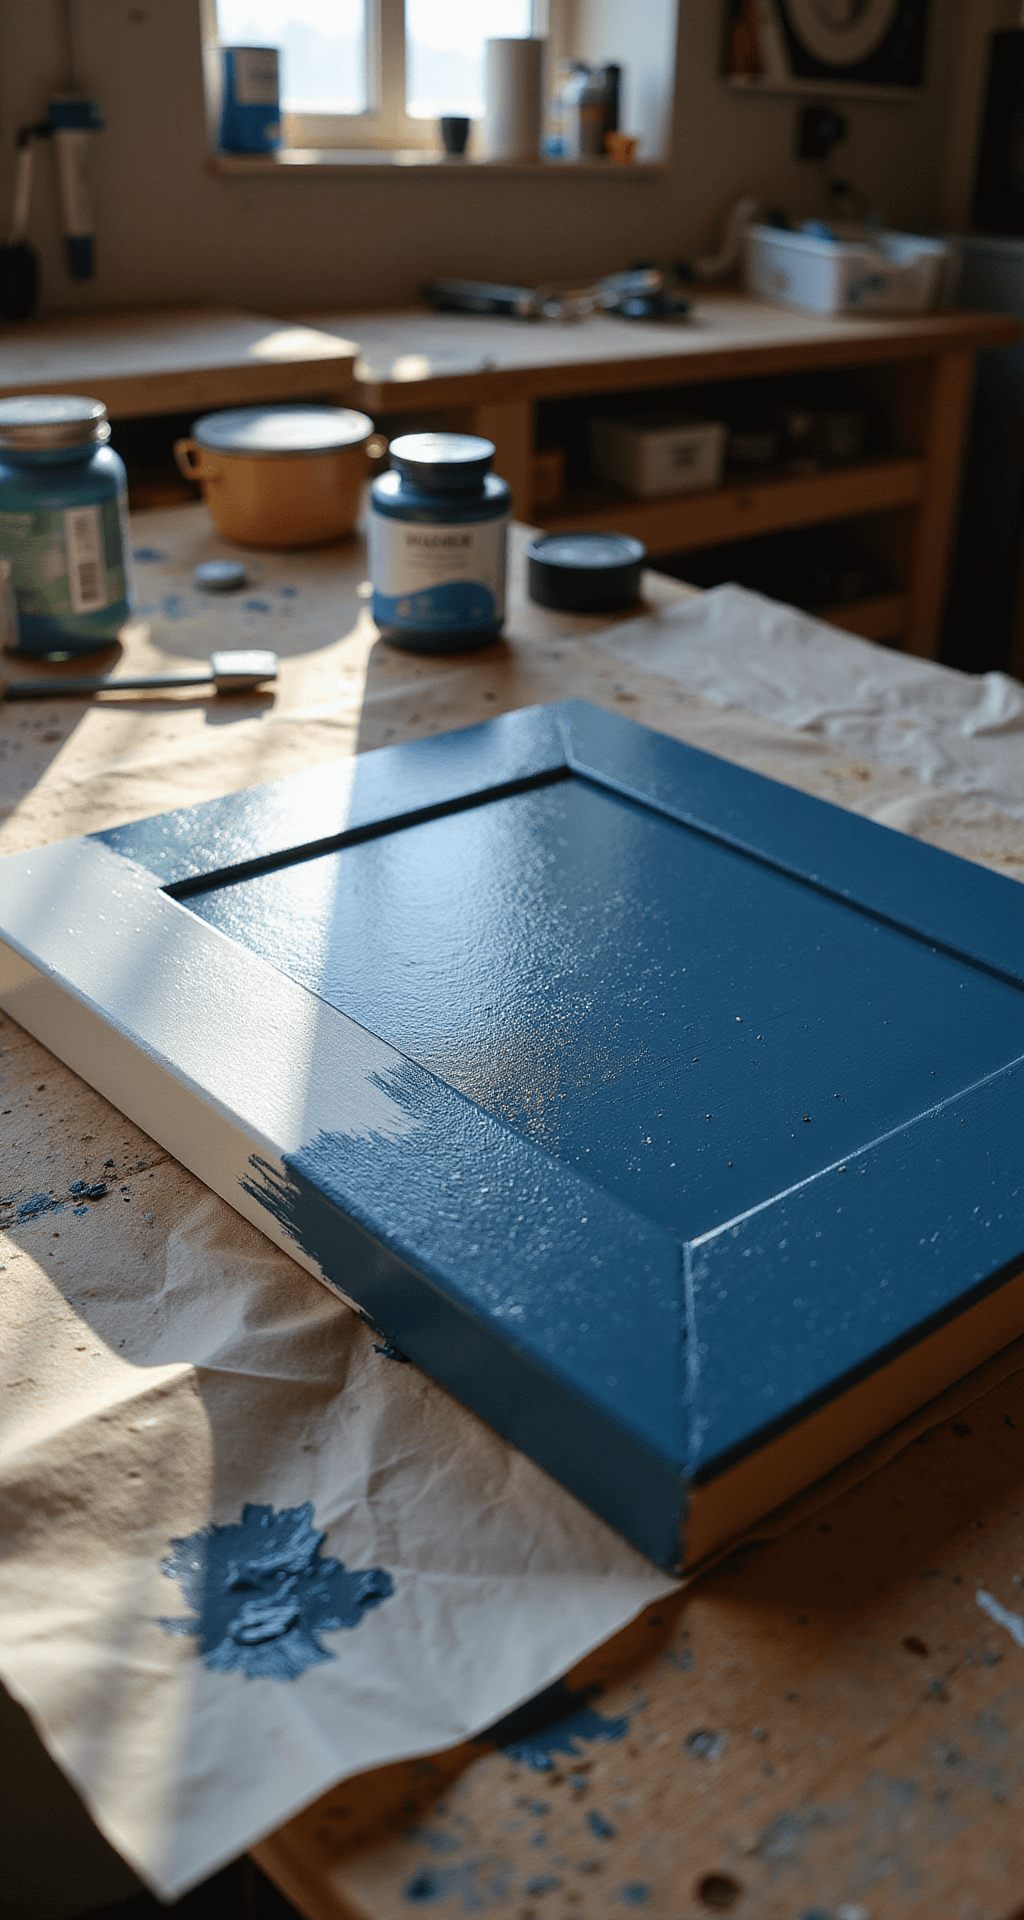
1. Prep Like a Pro: Removing Hardware
Pro Tip: Organization is key here.
- Remove all cabinet doors, drawers, and hardware
- Use numbered labels or painter’s tape to track placement
- Store hardware in sealed plastic bags
2. Deep Clean: The Most Critical Step
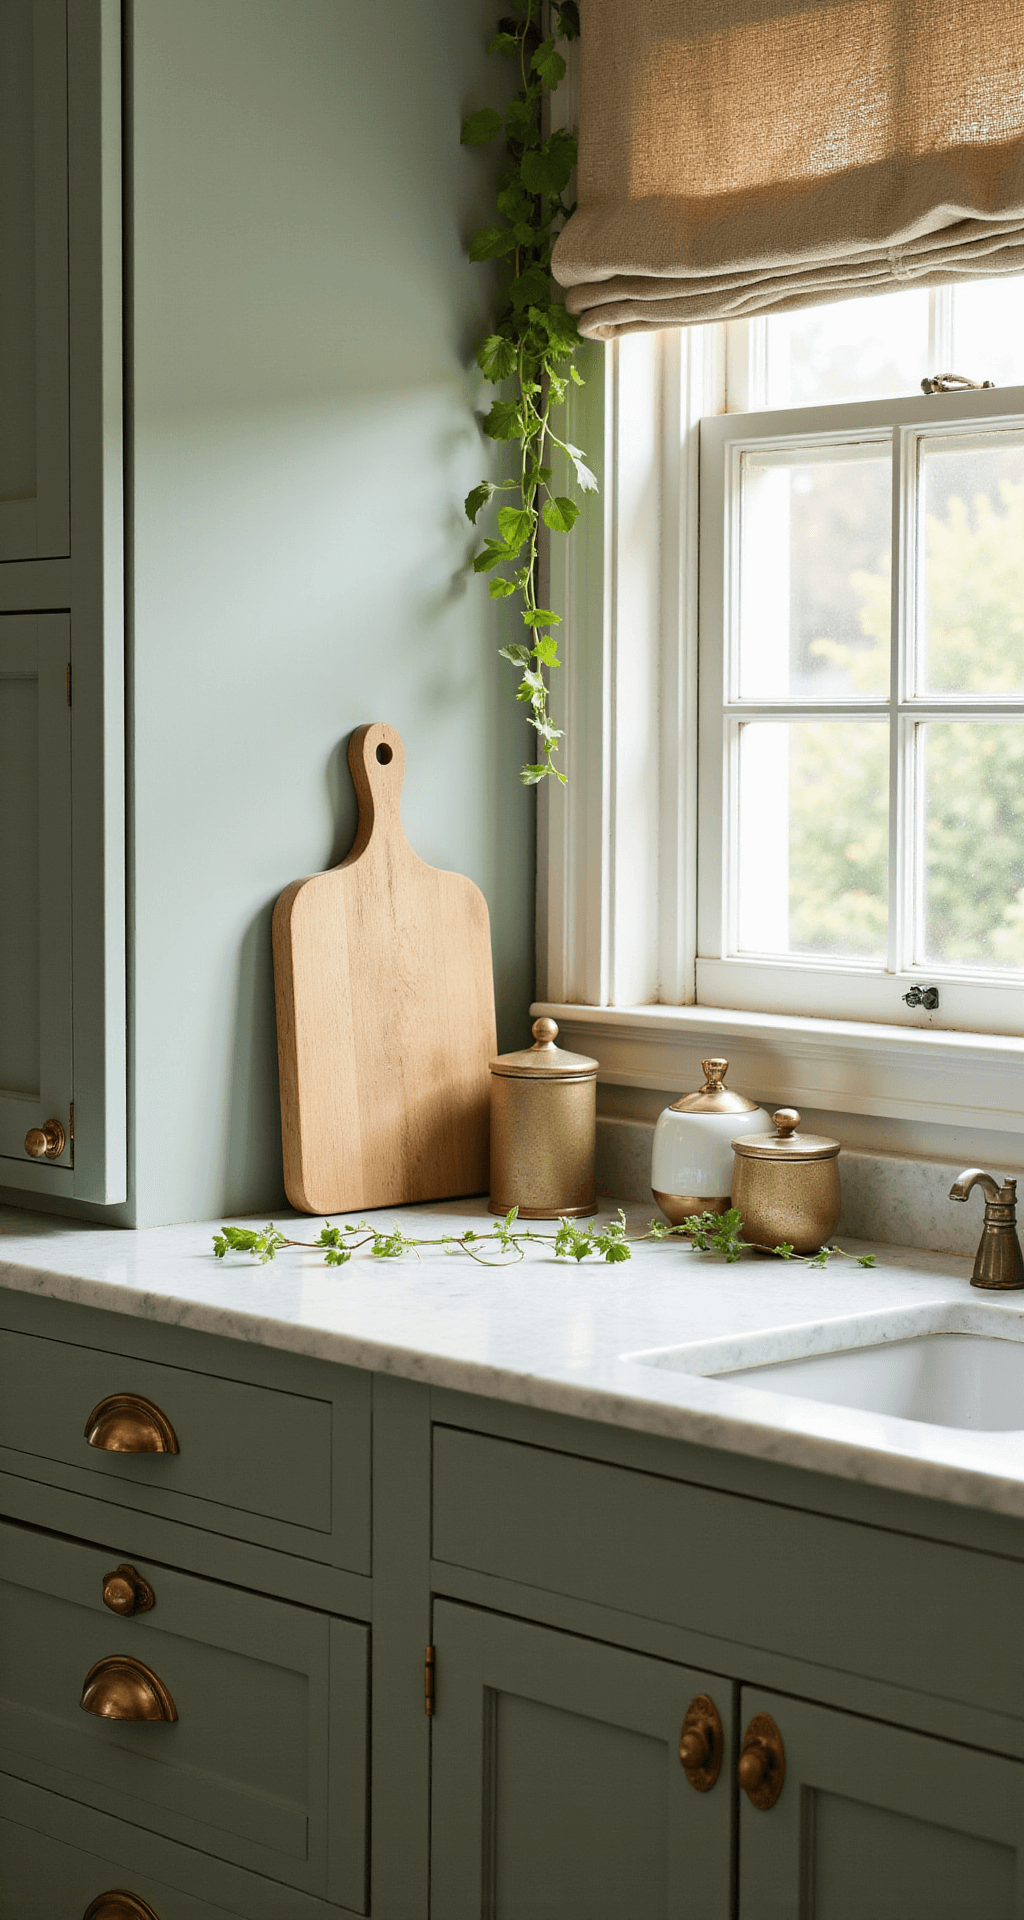
Kitchen cabinets accumulate years of grease, cooking residue, and grime. Skipping thorough cleaning guarantees paint failure.
Cleaning Essentials:
- Degreaser or TSP solution
- Microfiber cloths
- Rubber gloves
- Ventilated workspace
3. Sanding: To Sand or Not to Sand?
Your paint choice determines sanding needs:
- Traditional paint: Light sanding with 220-grit sandpaper
- “No-prep” paints: Skip sanding
- Laminate surfaces: Use bonding primer
4. Protect Your Workspace
Must-Do Prep:
- Cover countertops with drop cloths
- Use painter’s tape around edges
- Remove appliances if possible
5. Priming: The Foundation of a Great Paint Job
When to Prime:
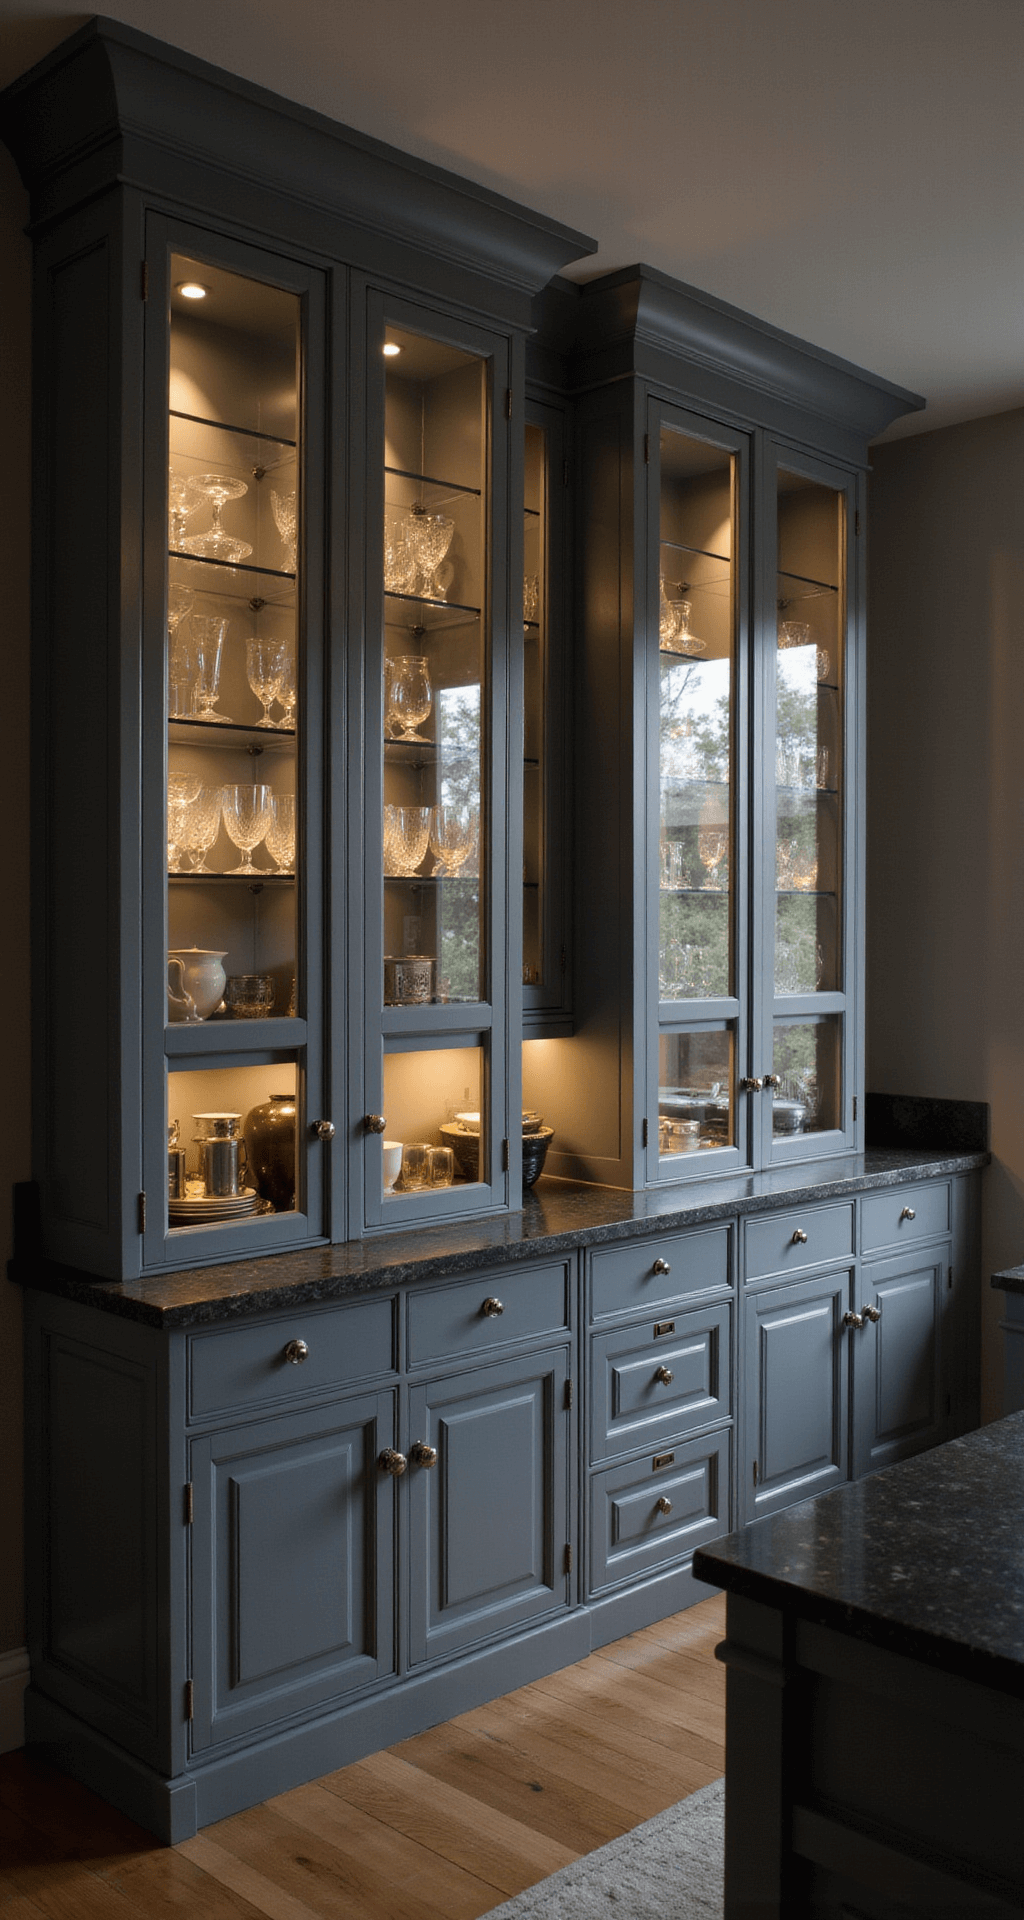
- Changing from dark to light colors
- Bare wood surfaces
- Glossy existing finishes
6. Paint Application: Technique Matters
Paint Selection Criteria:
- High-quality cabinet/trim paint
- Satin or semi-gloss finish
- Urethane or enamel-based
Application Techniques:
- Use foam rollers for large surfaces
- Angled brushes for detailed areas
- Thin, even coats
- Minimum two coats recommended
7. Hardware and Finishing Touches
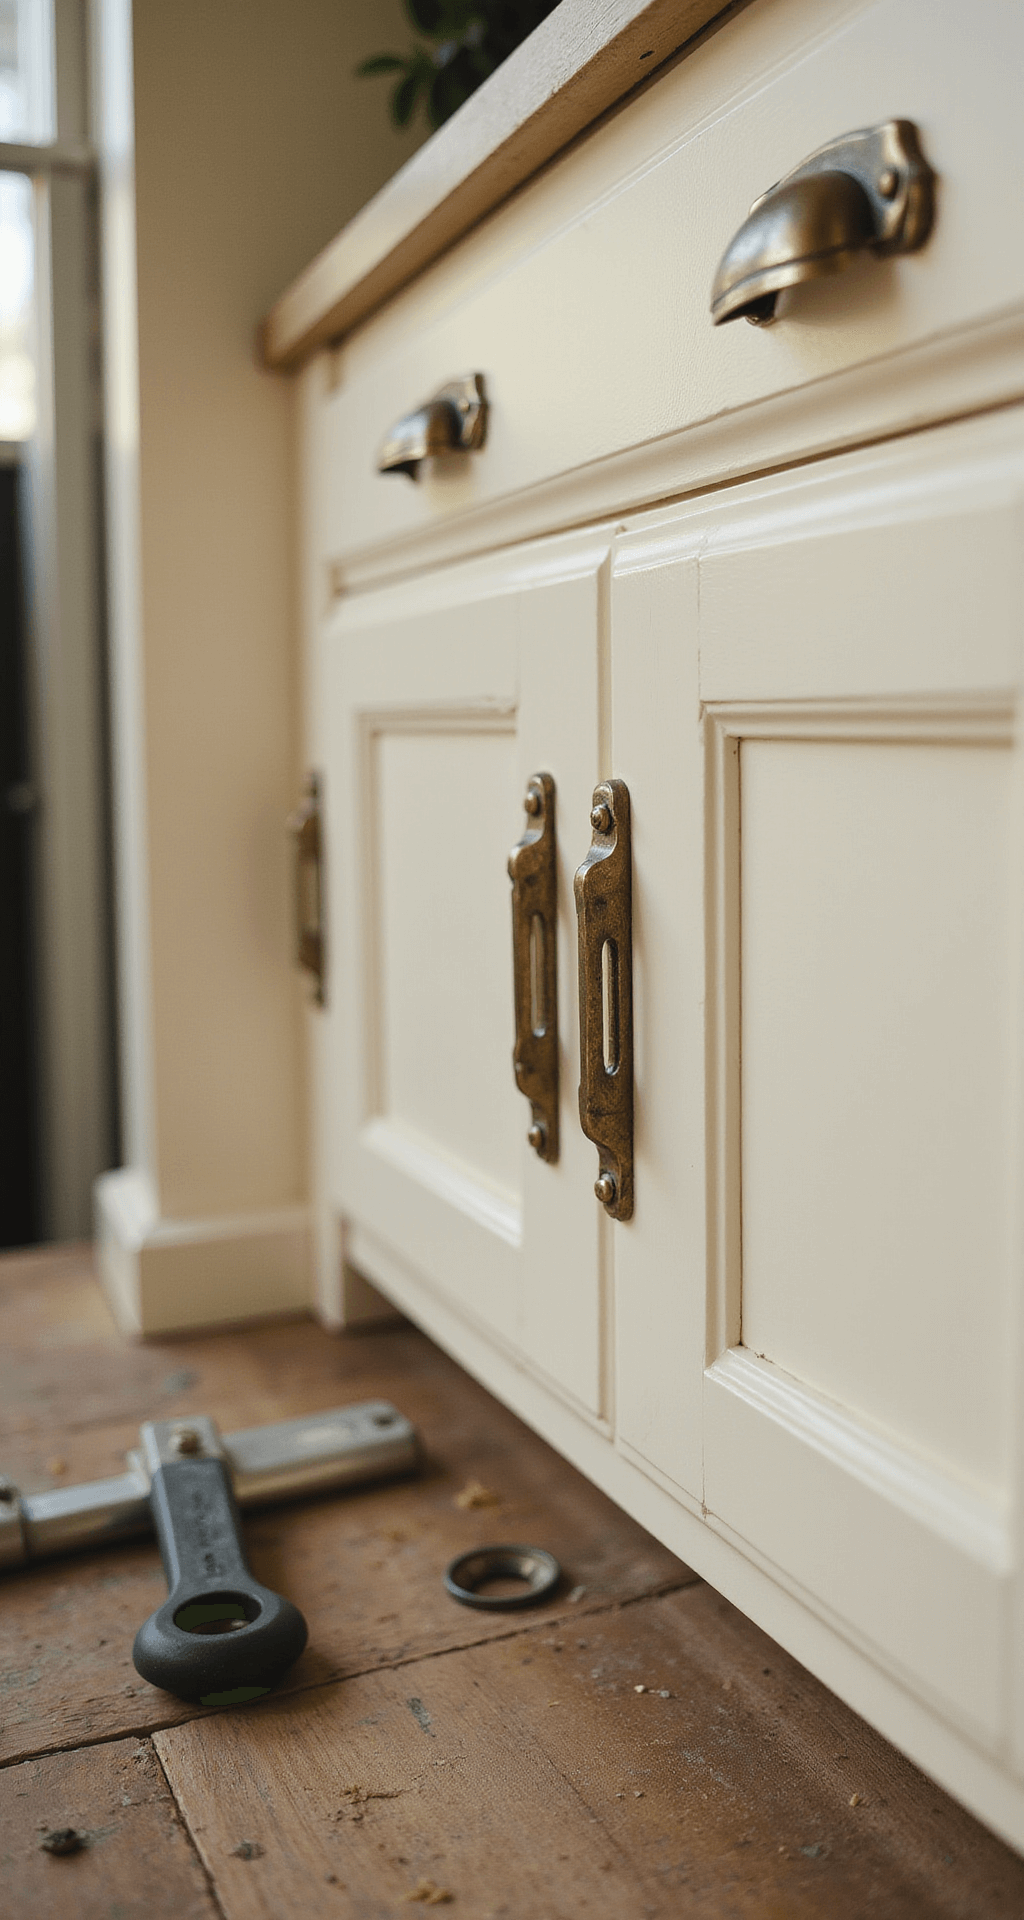
- Refinish existing hardware or buy new
- Allow full 7-10 day cure time before heavy use
Common Painting Mistakes to Avoid
- Rushing the cleaning process
- Skipping primer
- Applying thick paint coats
- Not allowing proper drying time
- Working in poorly lit spaces
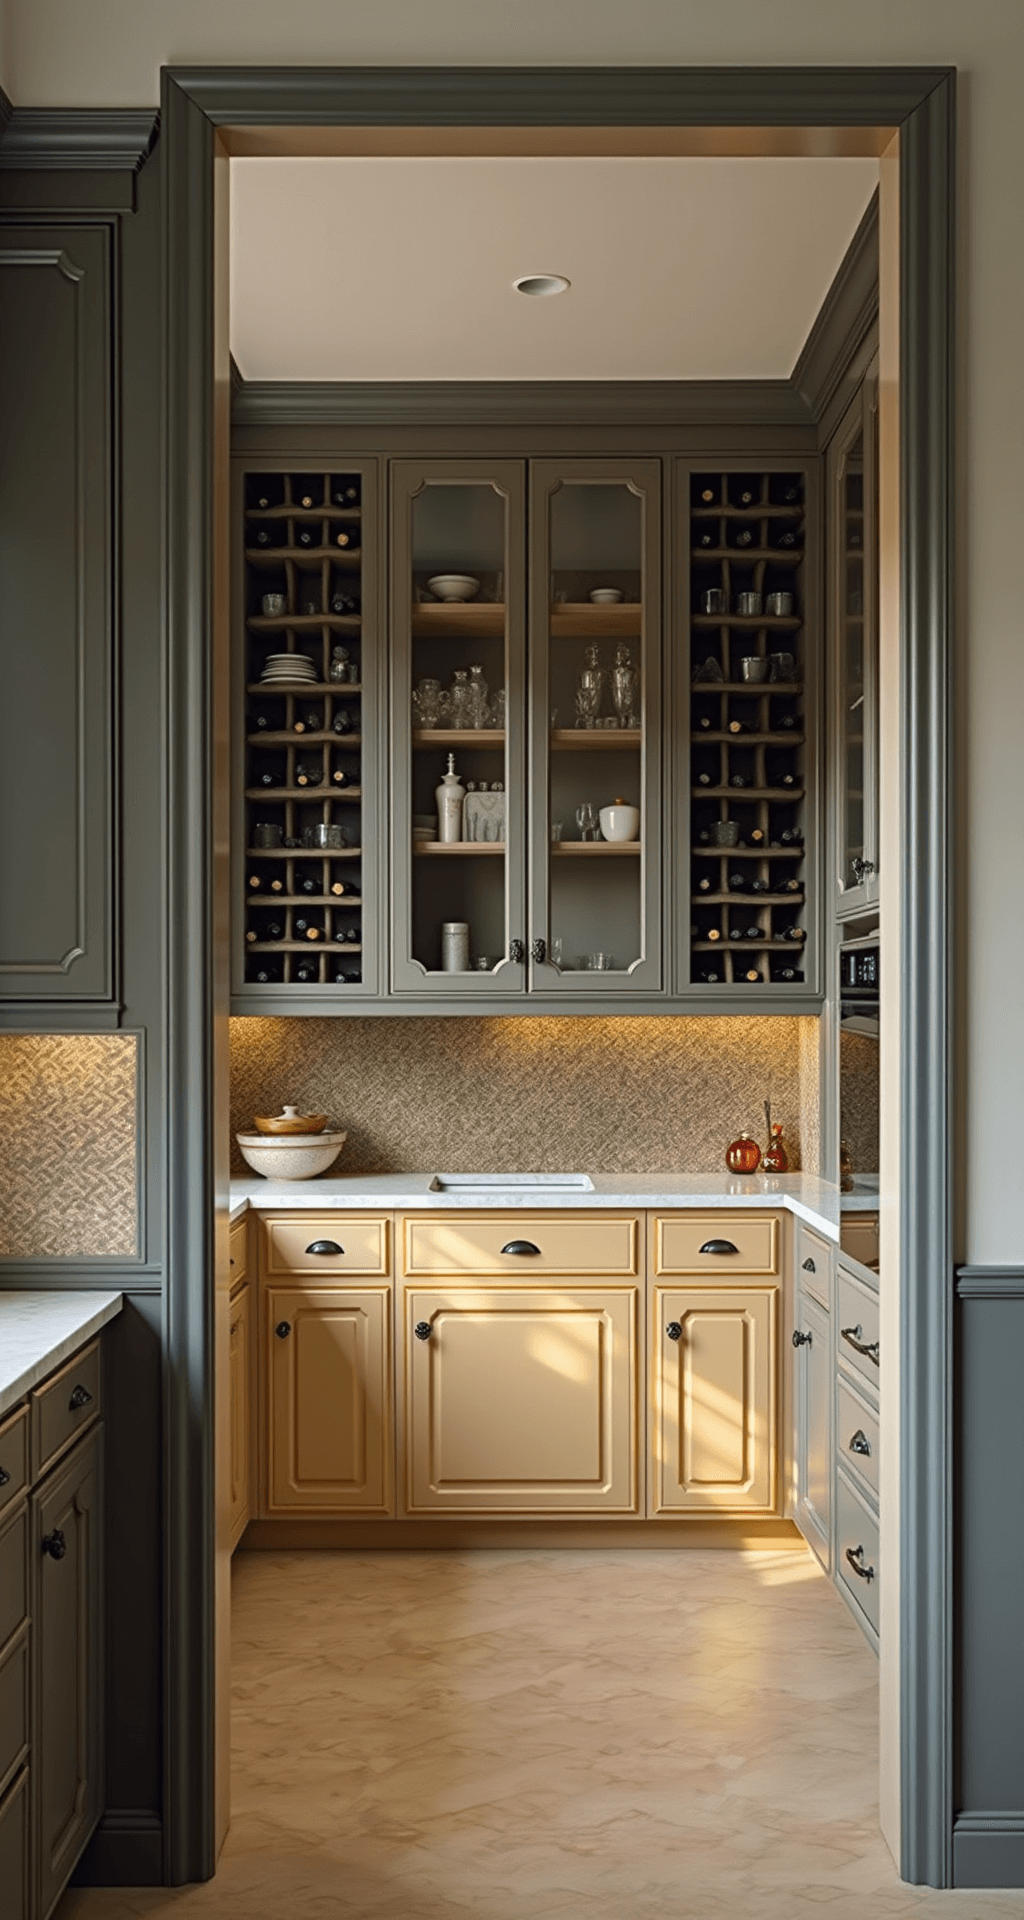
Product Recommendations
Top Cabinet Paint Brands:
- Sherwin-Williams Emerald Urethane Trim Enamel
- BEHR Cabinet & Trim Enamel
- Benjamin Moore Advance Interior Paint
Cost Breakdown
| Item | Estimated Cost |
|---|---|
| Paint | $50-$100 |
| Primer | $25-$50 |
| Brushes/Rollers | $20-$40 |
| Sandpaper | $10-$20 |
| Total | $105-$210 |
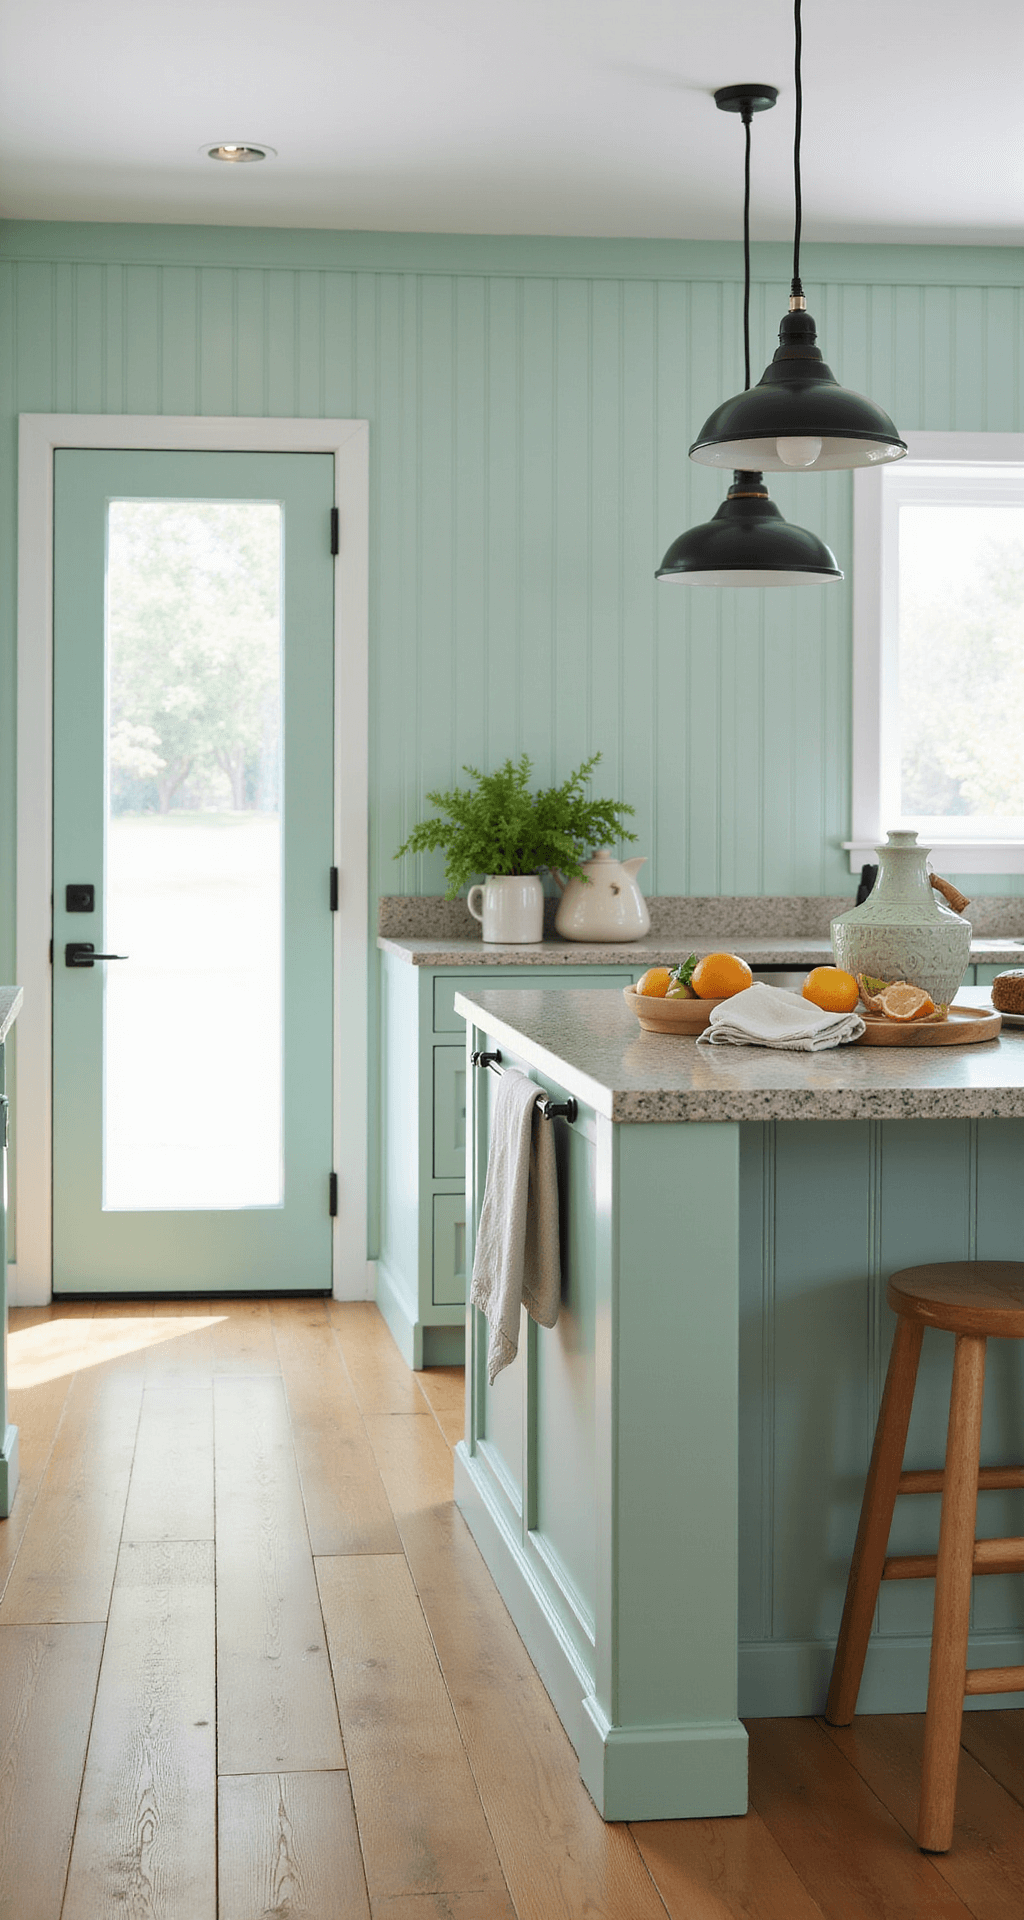
Final Thoughts
Painting kitchen cabinets is an incredibly rewarding project. With patience, proper preparation, and the right techniques, you’ll achieve a professional-looking transformation that feels like a complete kitchen renovation.
Remember: The secret is in the prep work. Take your time, follow each step carefully, and your cabinets will look stunning.
Happy painting!
This post may contain affiliate links. Please see my disclosure policy for details.

